
Checkouts is a lite version of receive payments API using payment button/widget.
Checkouts provide a dynamic way to collect charges from customers and add custom data to your products. To make a decision on whether your application needs to use the native Receive Payments API or Checkouts, feel free to see the below table
| Features | Receive Payments API | Checkouts/Payment Button API |
|---|---|---|
| Order Management | You | Blockonomics |
| Checkout UI | You | Blockonomics |
| Email for order confirmations | You | Blockonomics |
| Customer Fields Input | You | Blockonomics |
During checkout, merchant creates temporary products via API which are shown via payment button/widget. Let's see how to use checkouts in few easy steps.
Step 1 - Create Parent Product
The parent product must be created via Products tab on the Buttons & Links page of the Blockonomics' Dashboard. The parent product specifies the default value of all attributes. Note the widget uid in the screenshot below:
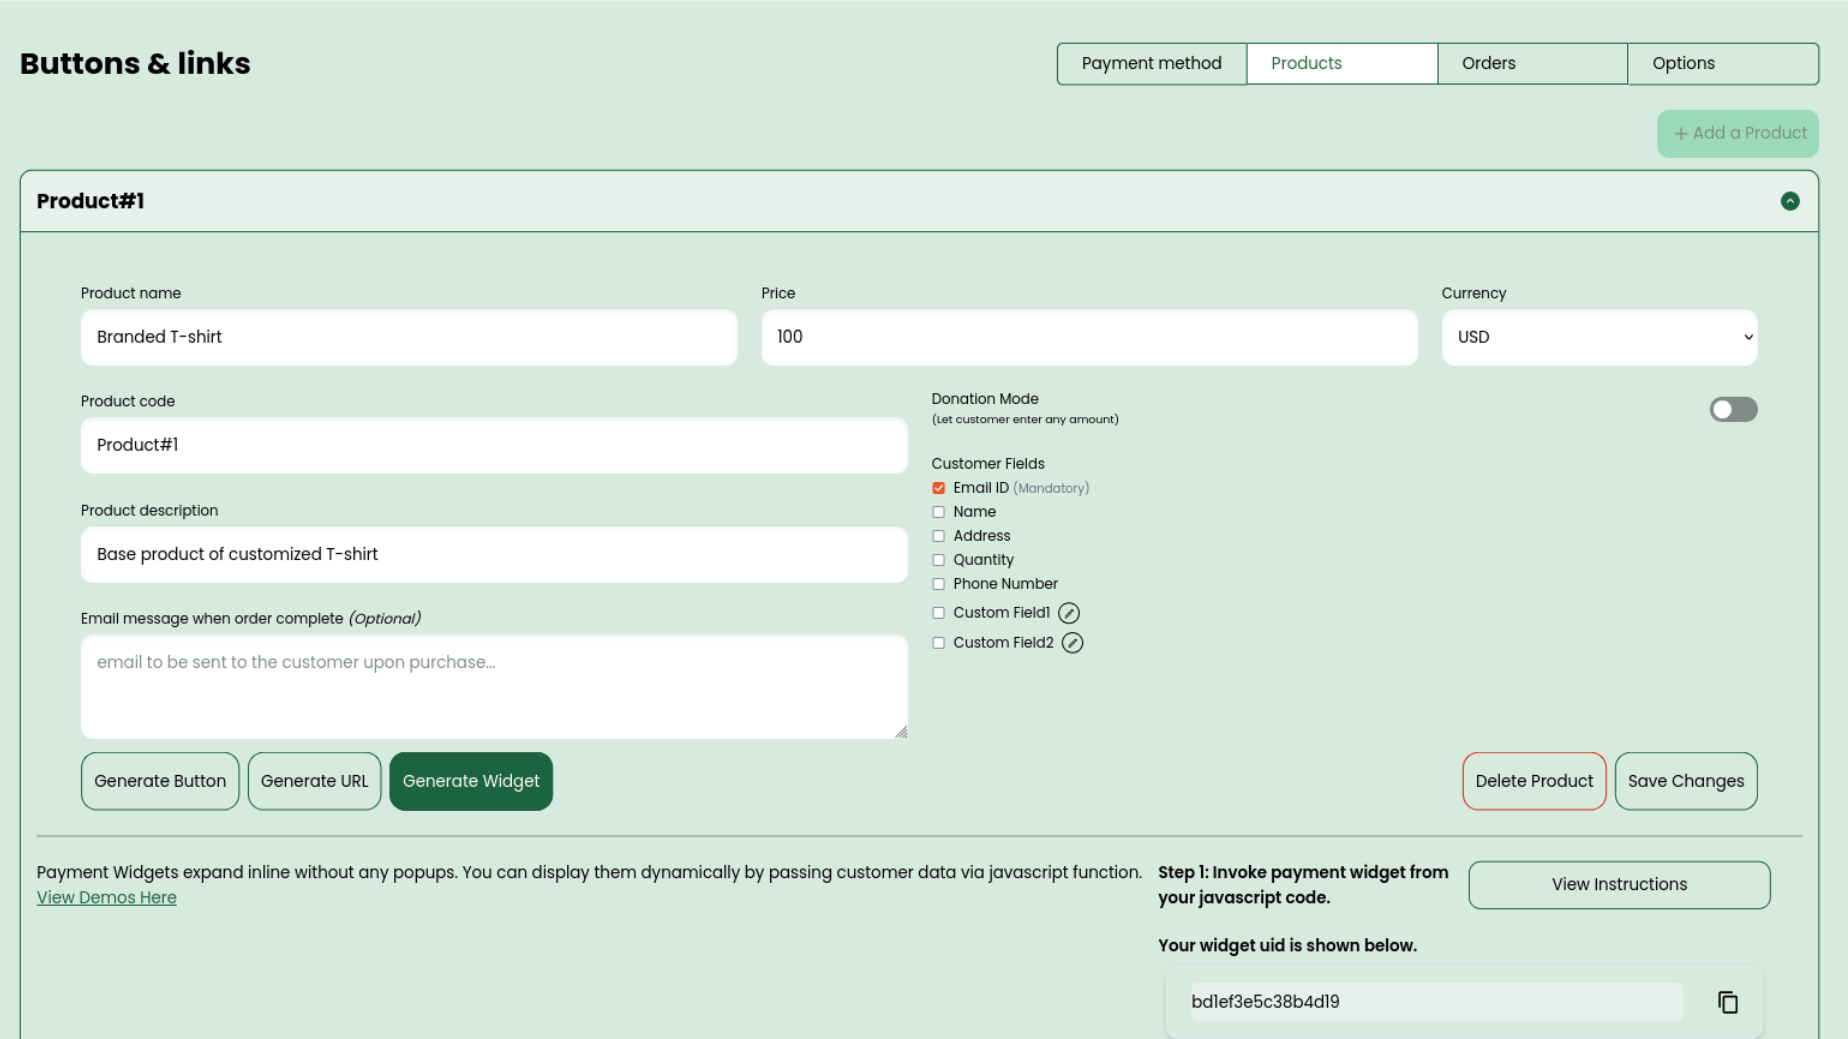
Sample creation of Parent Product
Step 2 - Create temp product
Temp product can be created by calling the Create temporary product endpoint. The widget uid shown in Step 1 must be specified in the parent uid field.
Few points about temp products:
- Temp product inherits all fields from its parent product.
- Temp products are automatically deleted after 7 days.
Step 3 - Show Checkout
Checkout UI can be shown using either payment button/widget. Both use the uid of the temp product returned from Step 2.
Payment Button
<a href="" class="blockoPayBtn" data-toggle="modal" data-uid="f7570454529a11e7-1ee5f340">
  <img width=160 src="https://www.blockonomics.co/img/pay_with_bitcoin_medium.png">
</a>
<script src="https://blockonomics.co/js/pay_button.js"></script>
Payment Widget
<script src="https://blockonomics.co/js/pay_widget.js"></script>
<script>
  function pay() { Blockonomics.widget({
    msg_area: 'payment_area',
    uid: 'f7570454529a11e7-1ee5f340',
    email: '[email protected]'
  }); }
</script>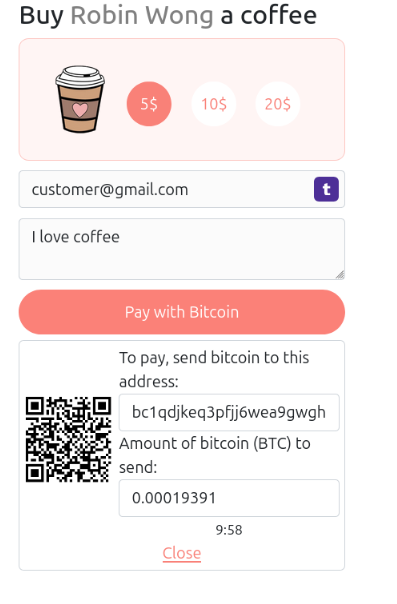
Sample payment widget accepting donations
Step 4 - Get Order Details
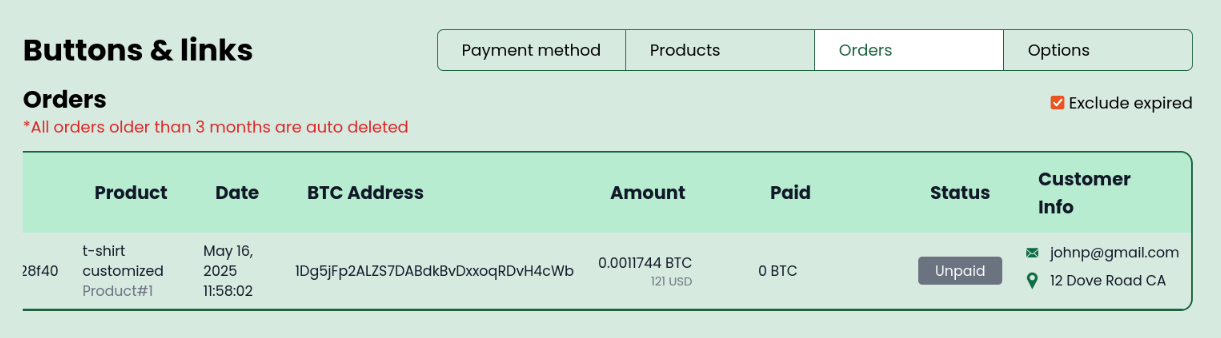
Sample order details
Order details are available via Button&Links > Orders. To fetch them programatically the following needs to be be done
- You will receive Order Callback containing the unique order uuid
- Call the Get order details endpoint to fetch the order details using the uuid received above